Position and level
Pan set level and aligned to the waste outlet centre for proper drainage
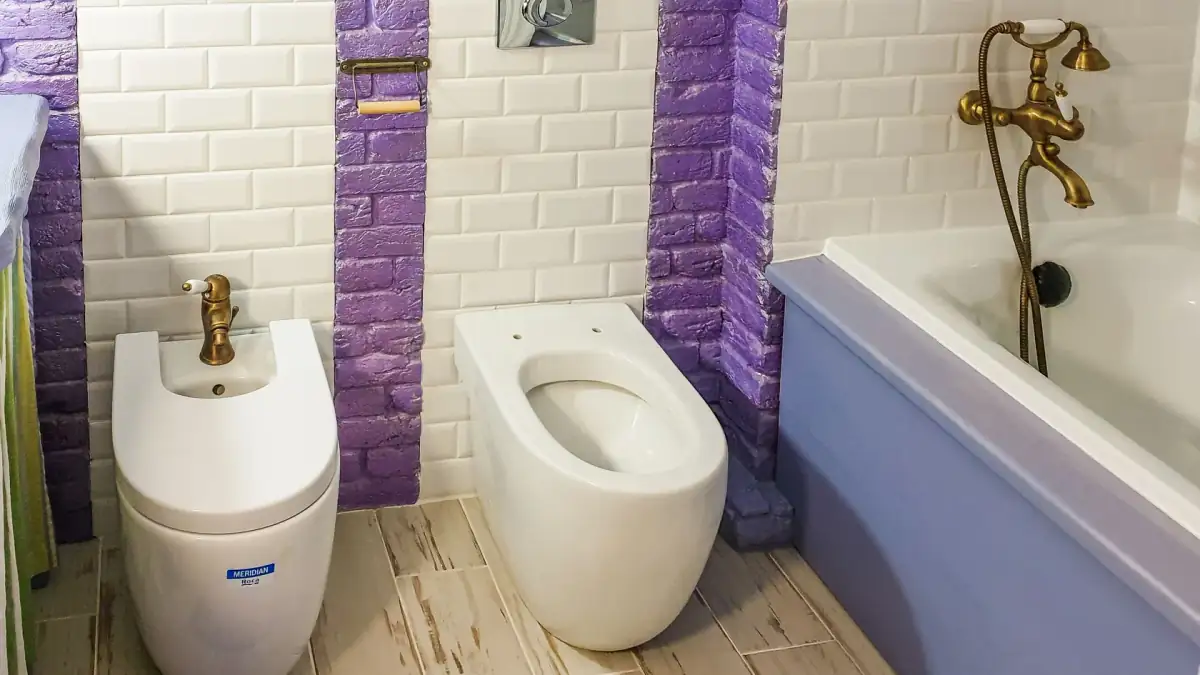
Positioning and levelling the pan, connecting waste and supply, fitting the cistern, and handing over a working toilet
Pan set level and aligned to the waste outlet centre for proper drainage
Wax ring or rubber gasket fitted between pan base and the floor outlet flange
Braided flexible supply tail and a dedicated isolation valve fitted to the cistern
Cistern mounted and float valve adjusted for correct fill level and full flush
Sanitary silicone bead around the pan base stops water tracking under the tile
Multiple flush cycles run immediately after fitting to confirm all joints are dry
Describe the toilet type and current outlet condition by phone or WhatsApp
Technician checks the floor outlet alignment, flange condition and surrounding tile
Seal fitted, pan set level, and base bolts tightened progressively without over-torquing
Cistern mounted, float set, and braided supply tail connected to the isolation valve
Several flush cycles confirm all joints are dry before handover is signed off
Silicone alone without a proper wax ring or gasket lets sewer odour rise through the floor outlet
A tilted pan creates a low pocket in the ceramic trap that collects waste and blocks repeatedly
Forcing the pan outlet onto an off-centre floor flange cracks the ceramic or breaks the joint under load
Tightening the floor bolts too hard cracks the ceramic base internally, a fracture that often stays hidden until the toilet shifts
The distance from the floor outlet centre to the back wall determines which pan size fits your space
Close-coupled, back-to-wall, or high-level cistern each require different fitting steps and wall clearances
Check the floor flange for cracks or a broken collar before the technician arrives to avoid extra breaking work
Knowing where the toilet supply shutoff is avoids cutting water to the whole floor during the installation
Part of Sanitary fixture installation · All services · Back to the home page
No fixed rate applies; these factors together decide what the job will cost
Standard floor-mount, wall-hung or integrated units differ in labour and materials needed
A damaged or off-level floor flange needs repair work before the pan can be set
Shifting the toilet from its original position means breaking tiles and reinstating the floor
New isolation valve, flexible tail or base seal ring each add to the total cost
Upper floors or confined layouts affect how long the installation takes
Same method, same equipment. Only the size of the job changes.
Why us
Amana means trust. Someone else’s home is not ours to be careless in.
Do not take our word for it. Look at the work yourself.
The leak is marked before a single tile comes up.
A leak does not wait for the morning.
Six governorates, 139 areas.
For buildings and complexes, servicing before the problem starts.
Restaurants, offices and complexes, not only homes.
Six governorates, 139 areas.
Common questions
Need someone now? The emergency line is open any hour.
+965 9668 4964
If the new pan matches the old footprint and the floor flange is intact, breaking is usually not needed. The technician checks alignment first to confirm before starting work.
The most common cause is a wax ring or gasket that was not fully seated, or a slightly tilted pan leaving a gap at the base. An empty internal trap from low use can also allow odour through.
You can supply the toilet yourself or ask us at the time of booking. What matters is that the pan type and rough-in measurement are confirmed before the technician arrives.
A floor-mount pan bolts to a floor flange with the cistern visible or close-coupled. A wall-hung toilet needs a concealed in-wall carrier frame and hidden cistern, requiring more structural work in the wall.
Fitting over a damaged flange prevents a proper seal and leads to leaks. The technician assesses whether repair or replacement is possible; this may need a small amount of tile breaking around the outlet.