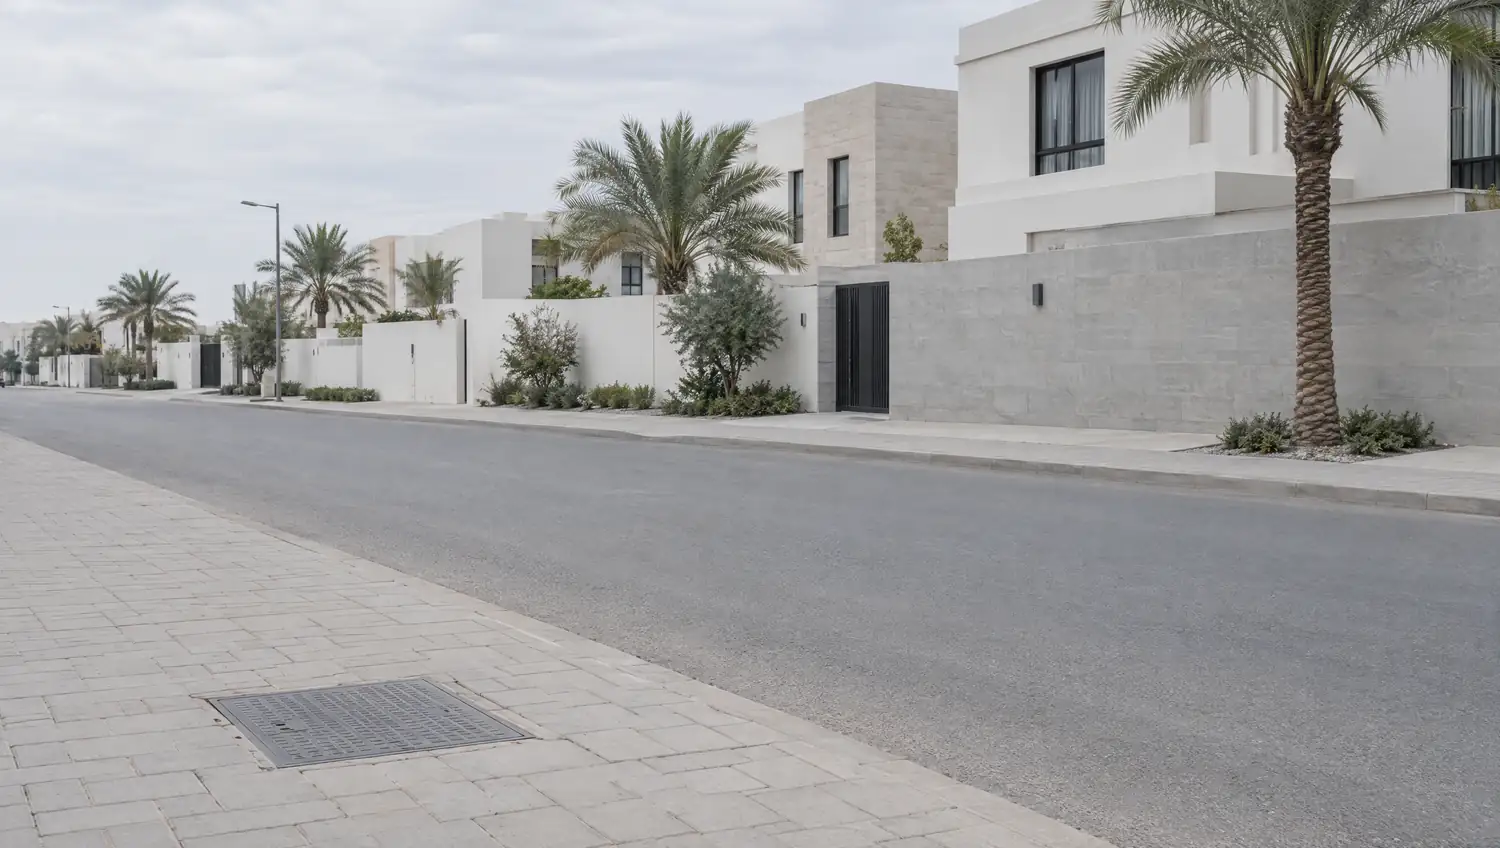
Wall position check
Marking the correct height and anchor points before any drilling
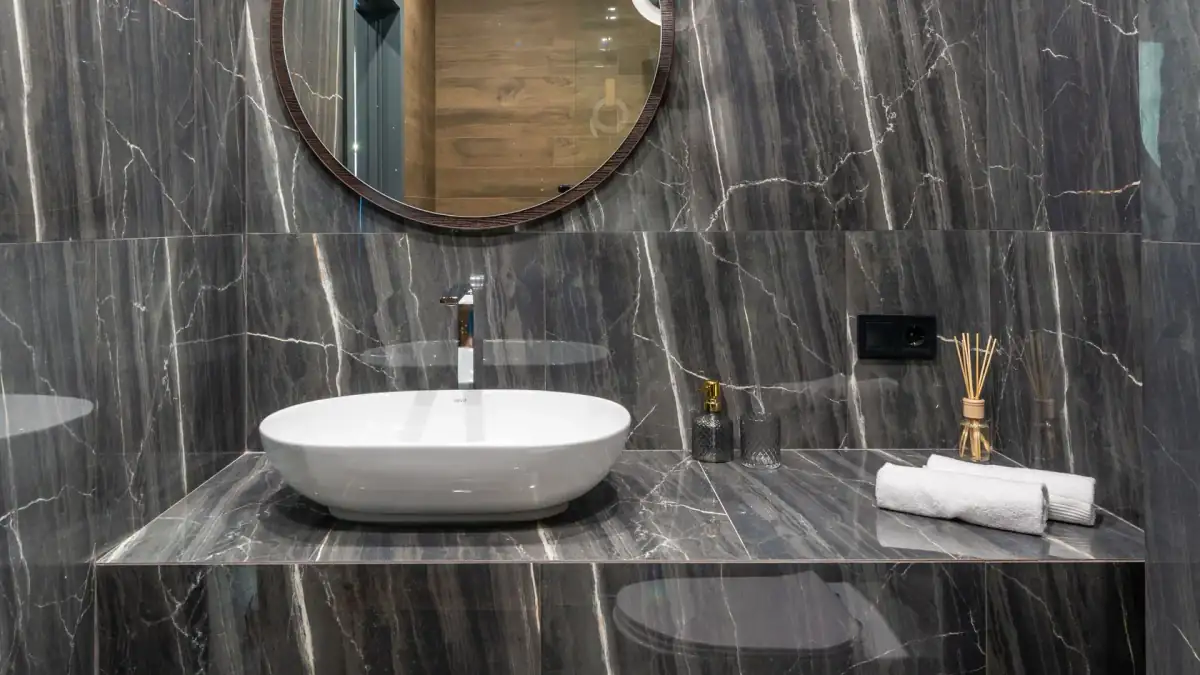
From marking the wall position to testing every connection before we finish
Marking the correct height and anchor points before any drilling
Fitting wall brackets rated to carry the basin weight safely
Connecting hot and cold lines with new isolation valves fitted
Setting a new trap and connecting to the waste run at the right fall
Fitting the mixer, strainer and all trim with sealed connections
Pressure check, waste flow test and full leak inspection before leaving
Describe the basin type and wall condition for an accurate estimate
Technician measures height, locates existing pipes and checks wall material
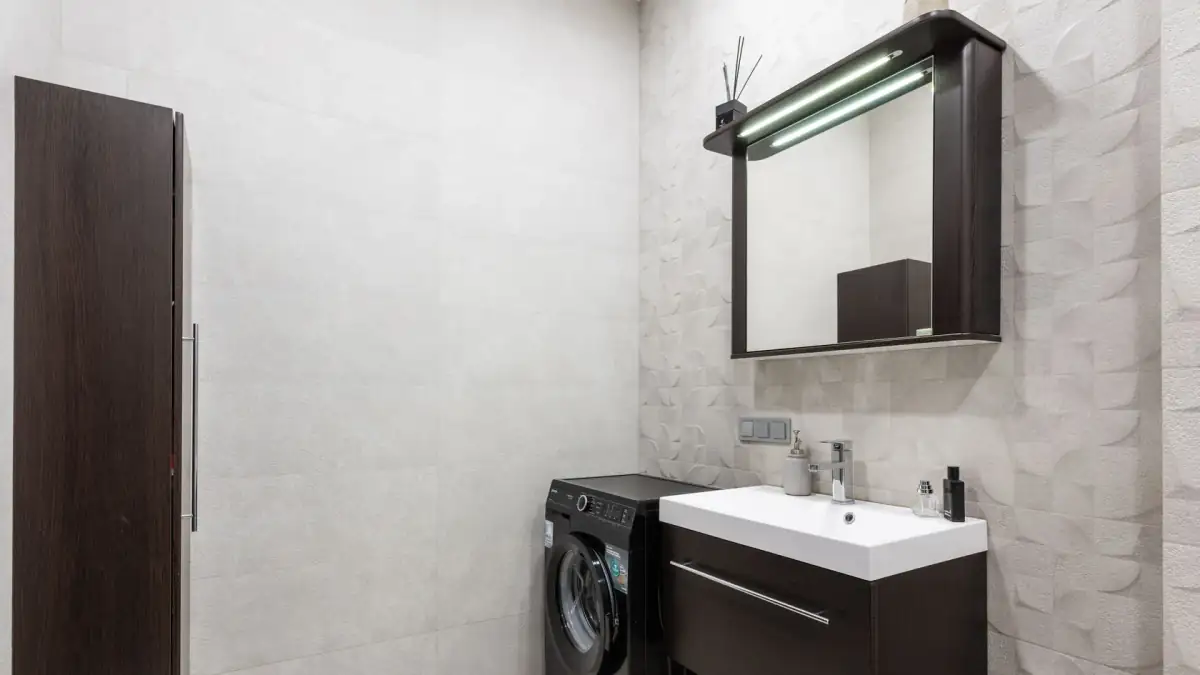
Brackets fitted, supply and waste connected, edges sealed with silicone
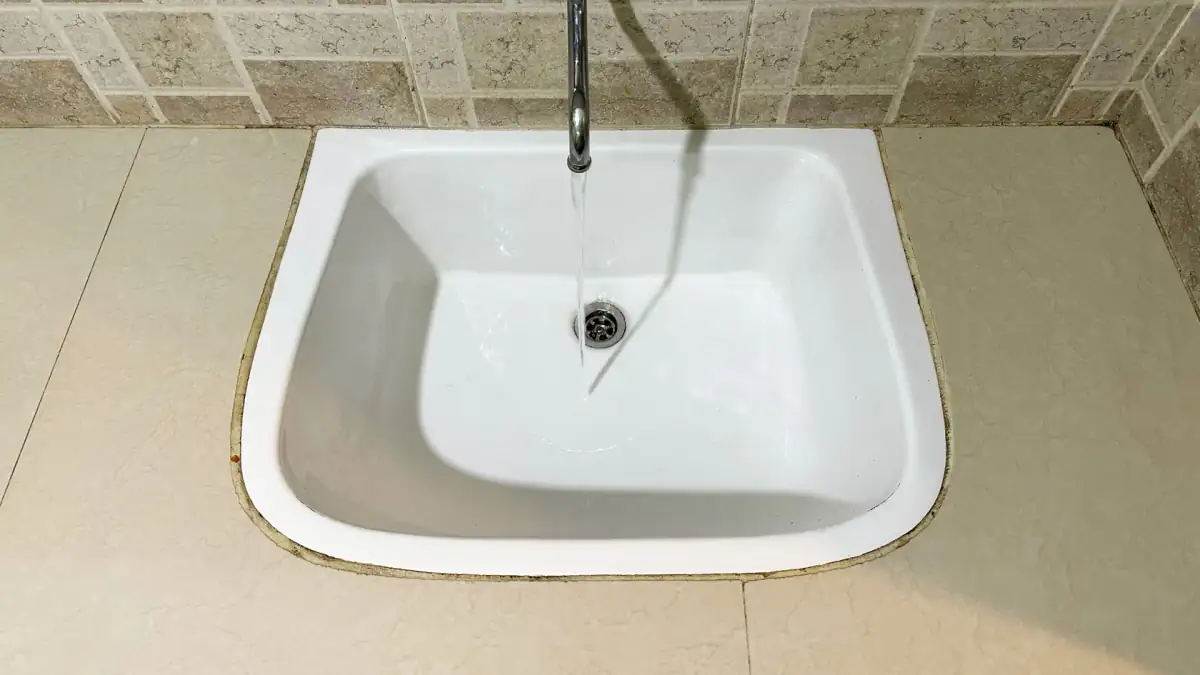
Water turned on, connections checked under pressure, waste flow confirmed
Work area cleaned and operation explained before the technician leaves
Any movement when the basin is pressed means the wall anchors have failed
Persistent moisture on the wall or floor below points to a leaking joint
A drain smell usually means the trap is dry, cracked or no longer sealing
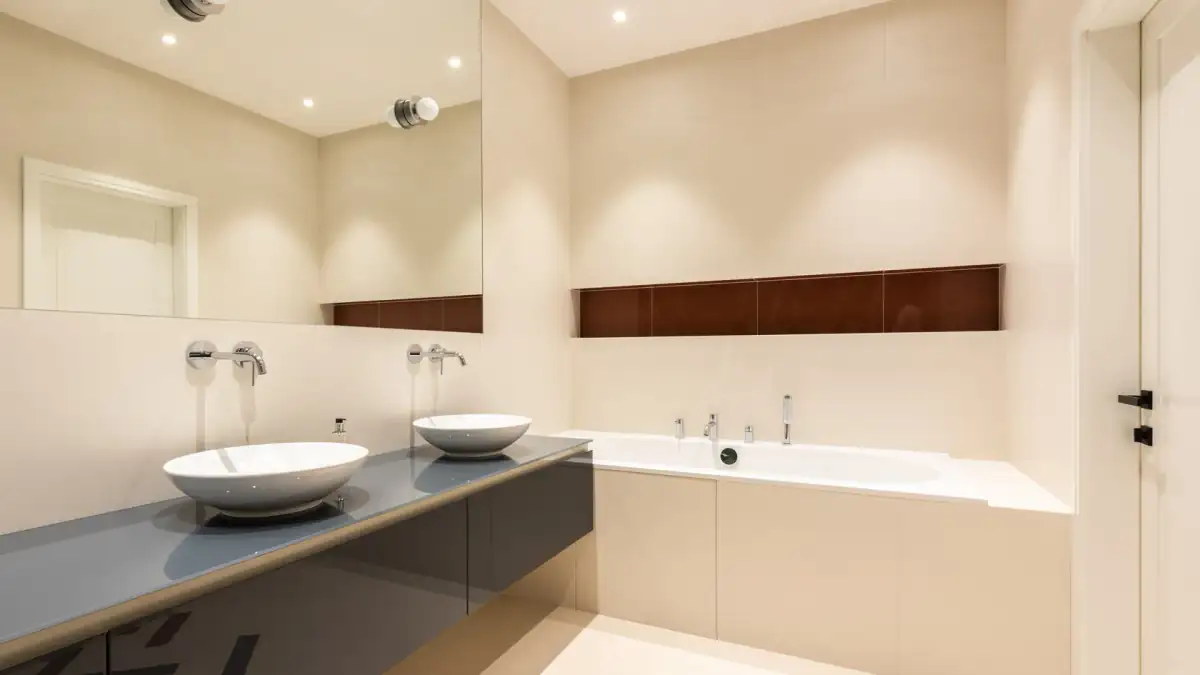
Replacing a basin during a bathroom renovation needs the connections rebuilt properly
Embedded steel brackets spread the load and stop the wall cracking under use
Moisture-resistant silicone fills the gap between basin and wall, blocking water ingress
Absorb any basin movement and hold tight despite Kuwait's high hot-water temperatures
Retains a water plug longer, reducing gas escape when the basin is unused for days
Part of Sanitary fixture installation · All services · Back to the home page
No fixed rate applies; the quote depends on the specific conditions of each job
Corner or oversized basins require extra brackets and more complex connections
Hollow or lightweight partition walls need reinforcing before brackets can be fixed
Greater distance from existing supply lines means longer runs of new pipe
If waste pipes are buried, breaking and retiling adds to the overall cost
Supplying the mixer, strainer and isolation valves adds to the labour cost
Same method, same equipment. Only the size of the job changes.
Why us
Amana means trust. Someone else’s home is not ours to be careless in.
Do not take our word for it. Look at the work yourself.
The leak is marked before a single tile comes up.
A leak does not wait for the morning.
Six governorates, 139 areas.
For buildings and complexes, servicing before the problem starts.
Restaurants, offices and complexes, not only homes.
Six governorates, 139 areas.
Common questions
Need someone now? The emergency line is open any hour.
+965 9668 4964
A partition wall needs internal reinforcement before the brackets are fitted, otherwise the fixing will fail under repeated use. The technician checks the wall type first and decides the right method.
The common range is 80 to 85 cm from the floor tile to the basin rim, but it varies with user height and intended use. We confirm the position with you before any drilling starts.
The most common cause is an incompletely tightened mixer connection or trap joint. In some cases the drip comes from a worn washer inside the fitting rather than from the pipe itself.
It is possible, but it requires new supply runs and likely breaking the floor or wall to reroute the buried waste pipe. What starts as a simple fitting becomes a larger job; cost is confirmed after a site check.
If isolation valves are already fitted near the bathroom supply lines, only those are closed. If not, the main supply is shut briefly while we fit new isolation valves, then restored.